
This previous semester, I taught a computer programming class to a small group of students using the British Columbia curriculum. The curriculum focuses very much on process over content. In computer programming, the emphasis is on the development process over writing code. One thing I like about this is that there are lots of opportunities to get students off of their computers. While I love programming, I want the students to see it doesn’t require being glued to a screen all day.
My latest project was inspired, as many great projects are, by student interest. When trying to explain logic using light switches as an example I could see eyes glazing over. I noticed a student with a stuffed animal attached to her backpack and I asked if I could borrow it. I asked the class to imagine we were going to give this toy an upgrade and add lights and buttons to it. Maybe rubbing its belly would cause its cheeks to light up or booping its nose might make it coo. They quickly came up with many ideas for how we could use buttons lights and sounds to make this toy more exciting. After this success in a theoretical lesson, I asked if they’d be interested in making this a reality and an enthusiastic “yes” was the consensus.
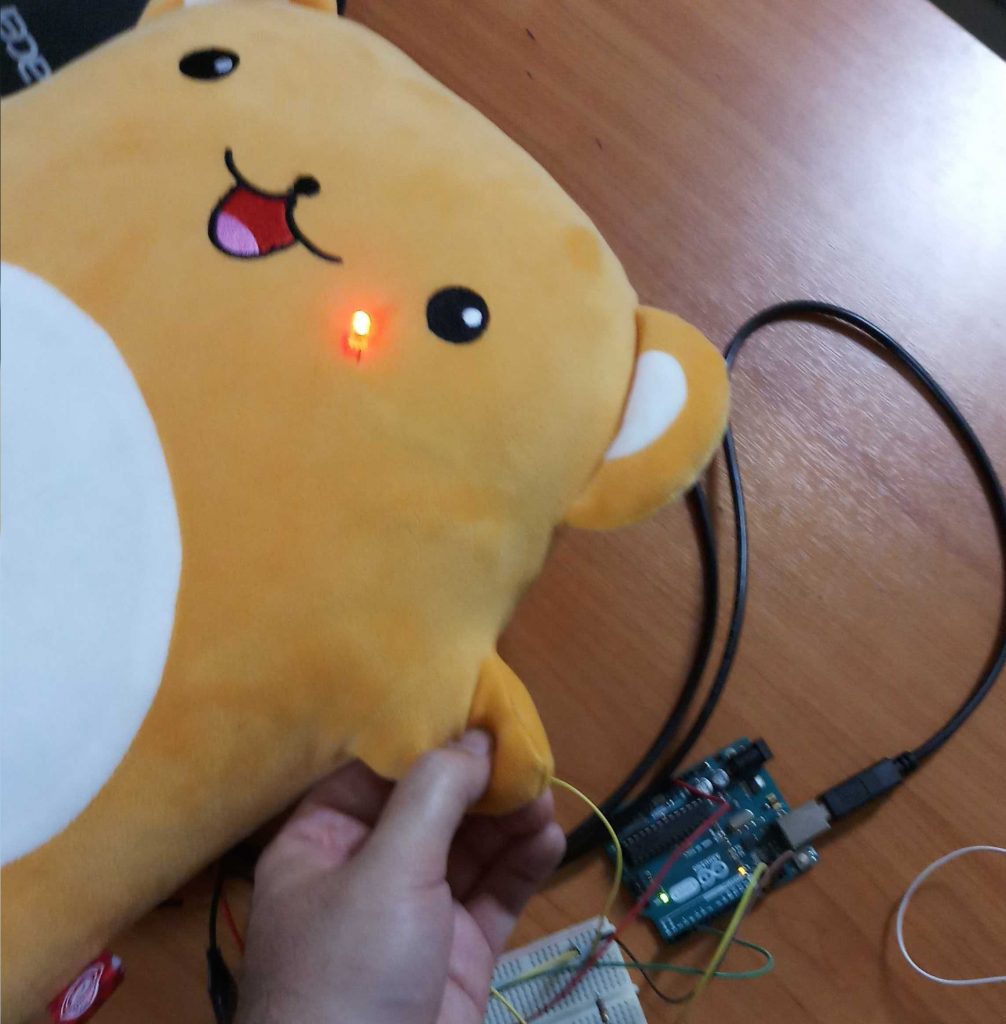
That evening I gathered supplies and went out and found the cutest stuffed animal that was on sale and of reasonable size. To create our cyborg bears we also needed an Arduino with a USB cable, breadboard, some LEDS, resistors, push buttons, wires, alligator clips, and a sewing kit to open and close our toy.
During the course of this project I gave mini-lessons on boolean logic including truth tables, if-statements, how to write programs in processing and upload it to an Arduino, prototyping with breadboards and making circuits.
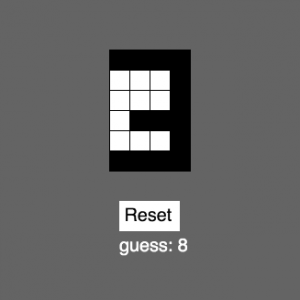
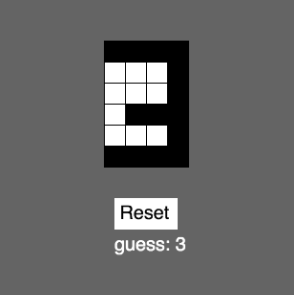
Students each sketched the bear and came up with ideas for where to put push buttons (inputs) and LEDs (outputs). I then had them create truth tables that described which lights would come on for each combination of buttons being pressed. This would be translated into a program in processing that would be uploaded to their Arduinos. At the same time they needed to create the necessary circuits. They could test out the functionality before doing anything with the stuffed animal.
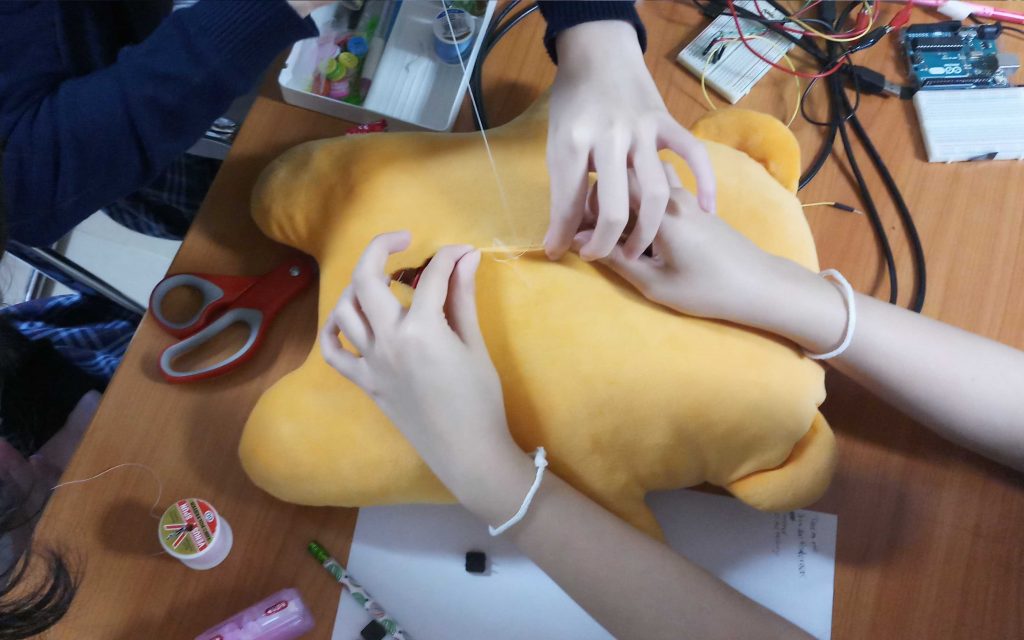
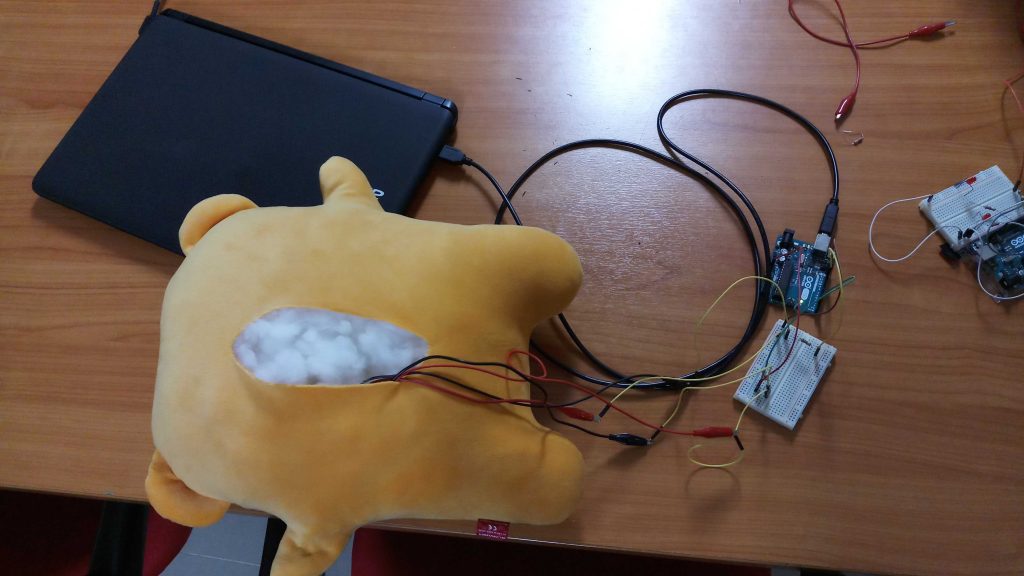
While everyone loved the idea of enhancing the bear, they gave looks of horror when I told them it was time to open the bear up to put our circuit inside. No one else wanted to make the first cut so I did it for them but once that part was over it was no time before the were ripping excess stuffing out to make it easier to get their hand inside and connect LEDs to their wires.
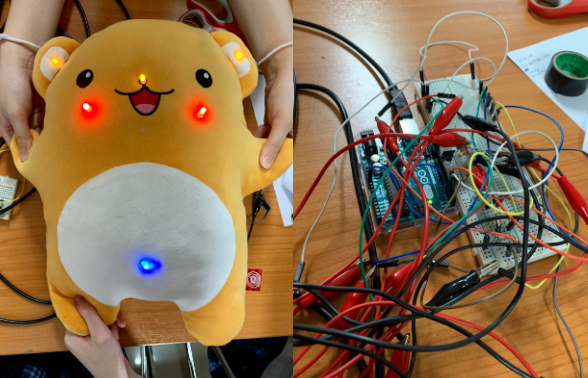
It was pretty orderly at first, but as more LEDs and buttons were put in, the amount of wires caused a bit of a mess so strategizing how to best physically organize everything became important.
The first LED and button being added and working was a big milestone that got everyone excited about seeing the final result. After school, students brought their friends from other classes to come look at what they had made.
At the end we had to sew it back up but a hole was left to plug the USB cable into the Arduino for power and so we could upload code from different students to change the functionality. This was a great chance to drive home the fact that computer science is an iterative and creative process.
What went well
- Student motivation was through the roof during this project. Their sense of pride after each phase was extremely evident
- There was great collaboration between students, everyone wanted to participate and the readily helped troubleshoot for one another.
- There was some authentic struggle taking place that students persisted through due to just wanting to see it work
- The project was real world and “messy” challenges/obstacles presented themselves like getting wires tangled up, having exposed wires touching causing circuits to fail, etc… They had to physically get the components somewhere inside the bear they wanted instead of just neat and orderly on a breadboard
What I would change
- I’d set more explicit expectations about writing in their engineering journals regularly. I got them talking and discussing but getting them to do written reflection was tough so some of that great talk didn’t get recorded
- I’d like to come up with a wider variety of project ideas. There’s no one-size-fits-all project that hooks everyone so the more ideas I bank up, the more likely I am to be able to get more students engaged and energized about what they’re working on.
- Extending what I did, I would’ve like to use more types of input/output like something to make noise, moving parts, temperature sensor, gyro sensor, etc… We also could’ve made the changes to the bear more permanent by making a pouch and inserting a battery pack instead of needing to have it plugged up and soldering everything in place instead of holding it together with prototyping materials (though as is, it’s nice since we can take it all apart and have new students reuse everything)